If I see something that I love and don't think I can live without and it appears to be out of my "I could make that" comfort zone, I don't have a problem buying it! And there ARE things like that...nothing comes to my mind at the moment, but I will let you know when I think of something.
Case in point...Kelli and I were shopping at a little local boutique a few weeks ago...I am STILL searching for the perfect clock for above my fireplace! They have some of the cutest things in there and most are at "not so cute" prices. It is actually the place were I
On this day, I found the coolest burlap picture...sorry, for some dumb reason I forgot to snap a pic with my phone. Actually, I do know why...this was going to be EASY TO MAKE...so crazy easy, I was not even going to need a pic to
Kelli knew what she wanted on her sign..."Every little thing is gonna be alright!" song title by Bob Marley. Easy Peasy, right?!
She wanted it big...bigger than the original, so we decided on 2ft. x 5ft. Off to Hob Lobs we went to purchase the burlap. I knew that since you were going to be able to see through the burlap, we were going to need a backing, so we purchased some cheap muslin. Cost so far...about $11.
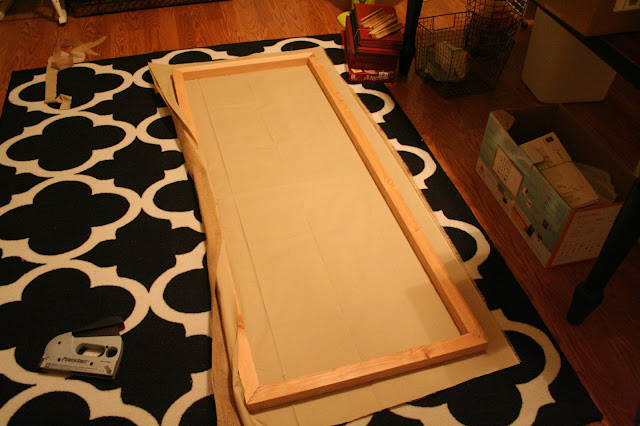
A few days later I went to Lowes to pick up the wood to create a frame. I paid about $10 and went home and made this:
One of the best things we have ever purchased is our Dewalt Miter Saw...you want to make a girl swoon...just buy her one of these! I took it into my craft room, (which at the time was a complete disaster...we will discuss that issue on another post.) and laid out both fabrics on the floor. Then, grabbing both fabrics at the same time, I wrapped them around the frame and stapled. Sorry, no pics but this was so stinkin' easy...I don't think you need them to figure it out.
If you are going to do something like this...be sure to pull your fabric TIGHT! I actually ended up taking the first staples out and doing it a second time...put your staples close together! Seeing little wrinkles in your edge is not a good thing.
This is what it looked like when I was done:
Kelli picked out the fonts she wanted and using my Silhouette, I created my own stencils using vinyl. We laid it on the burlap and played until we got the right sizes and configuration. It looked like this:
We used the same green paint that we had used on Kelli's kitchen chandelier and a little of the yellow that we used on her TV/Media Stand and a sponge and started "dabbing" it on! Make sure you put something under to support the burlap, otherwise it may stretch it out.
This is what it looked like when we were all done:
And on her chevron wall:
Whatcha' think? Not bad for about $20, eh?! You can't really tell from the picture how big this is...remember 2ft. tall and 5 ft. long...we think it makes a fun statement (no pun intended!)
The possibilities are endless...something fun for a kid's room or nursery? How about using the inexpensive colored burlap that they sell at Hobby Lobby in place of the natural color! Maybe a picture instead of a quote! Think outside the box...or in this case the "frame"!
Next up...cookies in the making and another idea I "borrowed" from the internet! Till then...
Linking this post to:
My Repurposed Life


6 comments:
OMG I need to do this for my kitchen! It's fabulous girl! LOVE it!
I just spent 40 bucks on some art...(someone gave me a lottery ticket, and I won $50)
ohhh, you have me thinking! :)
gail
This turned out great!
Great idea! Love it!
that looks great! I am looking for something like that for my kitchen. Thanks
I absolutely love it!!
I don't understand what a Silhouette is. Guess I should google.
I can see this done is a pale pink burlap and used to accent a "dress-up" corner, equipped for small princesses.
I don't know if a link from Pinterest will show up, but here's a quote that I thing would be cute done on pink burlap!
http://pinterest.com/pin/59602395040314651/
Oh, oh! This would be cute on pale pink or lavender burlap!
http://www.vinyl-wall-decals.com/?pn=Dress+up+boutique&cn=Kids&p=732&c=35
Post a Comment