
Anyhoo...a reminder of what this coffee table looked like when I brought it home a couple of weeks ago:


And let's not forget what I paid for it:

The first thing I needed to do was sand the top down to bare wood because I knew that I wanted to re-stain it a dark, rich color (it appears darker in the photo, but it was actually a full-on, light oak). I started out with a palm sander but it was too flippin' hot to mess around, so I had to get out the big dog...otherwise known as a belt sander. Now, these can be tricky...it's kind of like, turn it on and hold on for dear life because they can get away from you. By the time I had worked up a good sweat, I was done...thankfully!

I knew that I wanted to paint the legs, but I also wanted to "shabby" it up a bit so I needed to sand the legs just enough that the darker stain would adhere to most of it. Then when I did sand off the paint, the darker stain would show. It took me a while to decide on the paint color...I considered going "safe" with a creamy white or basic black, but if you remember back to my "teaser" picture, I decided to go bold with a nice shade of turquoise (Valspar "Nautical", if you are interested).
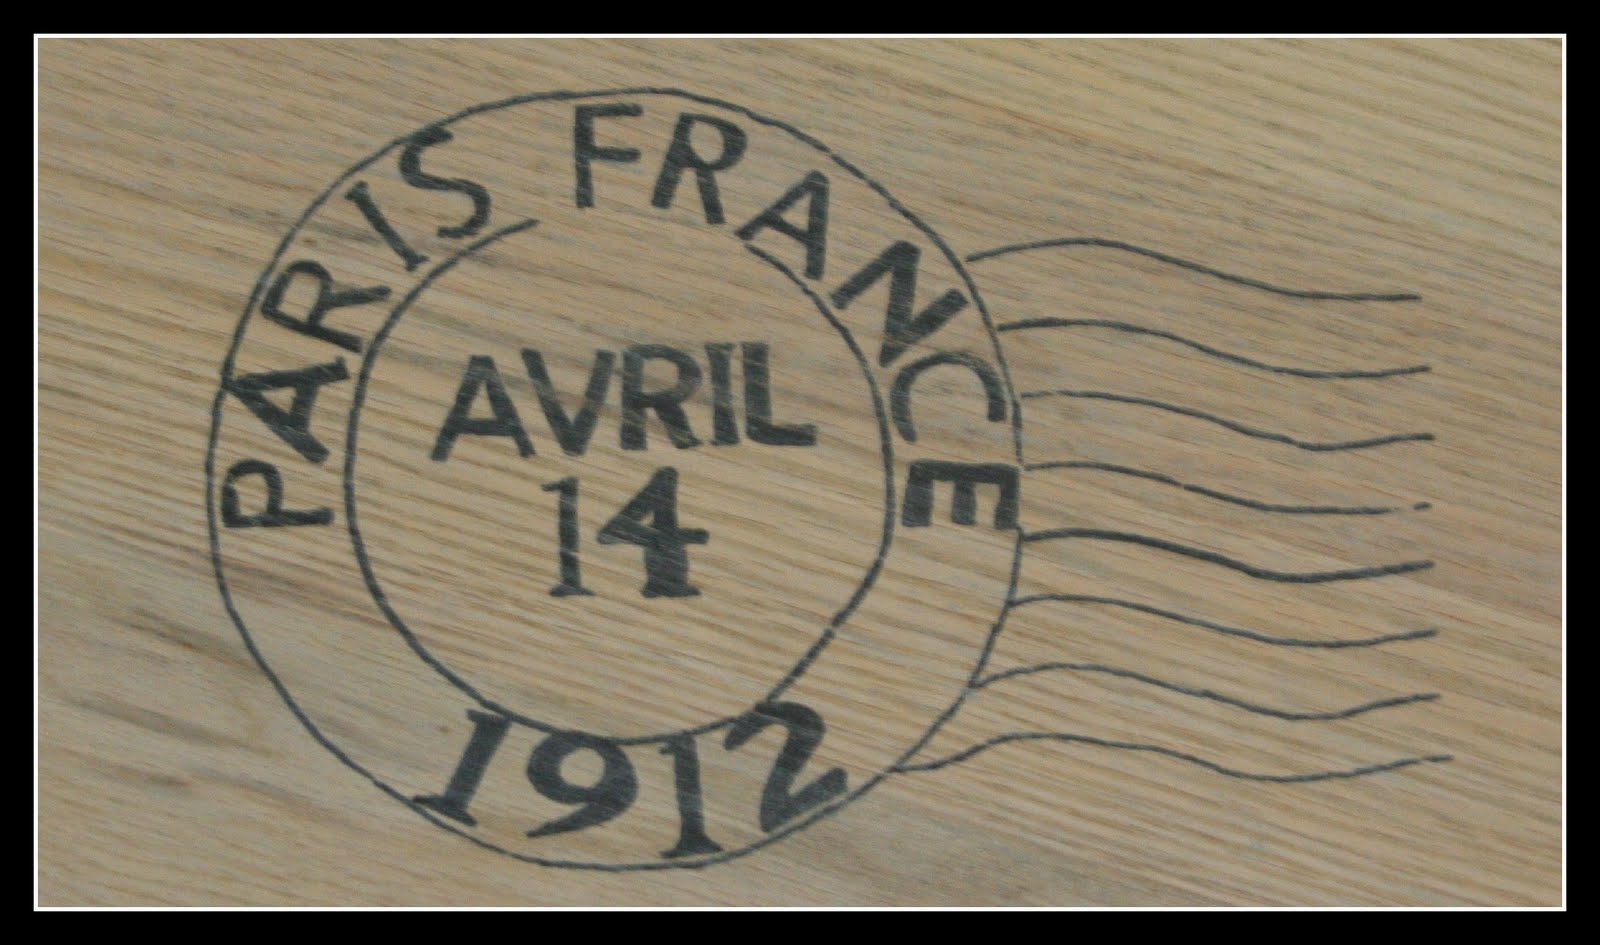
I also wanted to put a little interest on the top of the table, so I ended up purchasing this vintage postmark for a $1 off of ETSY, at a shop called Graphique. I know that I probably could have found a free image on the Internet , but I was feeling extremely lazy and did not feel like searching for a postmark. I highly recommend checking Graphique out, they have some AWESOME designs! Anyhoo, I enlarged and then printed the image...using graphite paper and a stylus, I transferred the image onto the wood.

Now, I could tell you that I then used a brush and paint to complete this process, but I'd be lying. I started out doing that, but could quickly see that I was going to be old older and gray grayer for that was done, so I went to "plan B"...a good ol' Sharpie pen. It was done in about 2 minutes...I wasn't being too careful, because I wanted it to look "worn" and I was going to do a little sanding over it.
I then used Minwax English Chestnut to stain over the top. Once that was completely dry, I did about 6 coats (yep, you could probably dance a jig on this thing) of Minwax Satin Polyurathane over the top, sanding with 220 grit sandpaper in-between each coat. Added two little wood ornaments from Hobby Lobby and VOILA!


Whatch'a think? I wish that I could say that this color matched my living room, but sadly, it does not! Since my house is slowly being overtaken with refurb furniture, I am probably going to sell it. It was a super fun (and surprisingly easy) project. The best part:
Price Breakdown:
Table $9.99
Paint 2.70 (it was one of those small sample jars)
Wood Ornaments 2.00
Image 1.00
Stain 0 (already had it)
Poly 0 (already had it)
Grand Total $15.69
Not too shabby...pun intended!
Once again...before:

After:
As always, thanks for stopping by...have a great weekend!
Linking to:
The CSI Project
Perfectly Imperfect
My Repurposed Life
My Uncommon Slice of Suburbia
Under the Table and Dreaming
Miss Mustard Seed
Today's Creative Blog
Primitive and Proper
There's a skinny girl who lives inside of me that's screaming to get out...I can usually shut her up with cookies!


12 comments:
I love this! the colors are fabulous!
Terri! Great job on this little beauty. Your table looks fabulous. I love the postmark.
Thanks for linking up, how about me catching you next week? :)
gail
That blue is beautiful! I love the way it turned out!!
I absolutely love the way this turned out! I'm super surprised about the sharpie - who would have though?!
Your table turned out beautiful! I LOVE the color. Instead of selling...why not change everything to match!
A girl after my own heart. I love sharpies! That color you used on the table legs is my current fave. I've been using it on everything! Love the stained top w/postmark. Great project!
This turned out gorgeous! I love the wood with the turquoise! Great colors!!
I love this table makeover! I featured it on my Friday favorites. Come check it out. Happy Friday to you!
Beautiful!! Love how it turned out :) I'm your newest follower. Would love for you to come check out my blog!
http://domesticcharm.blogspot.com
Katelyn
CUTE! Love it... I've never thought of using a sharpie for this. :-)
Debra
I love this table. It looks amazing.
Ruth
i LOVE that color on the base and the added detail to the top! it looks awesome!
Post a Comment